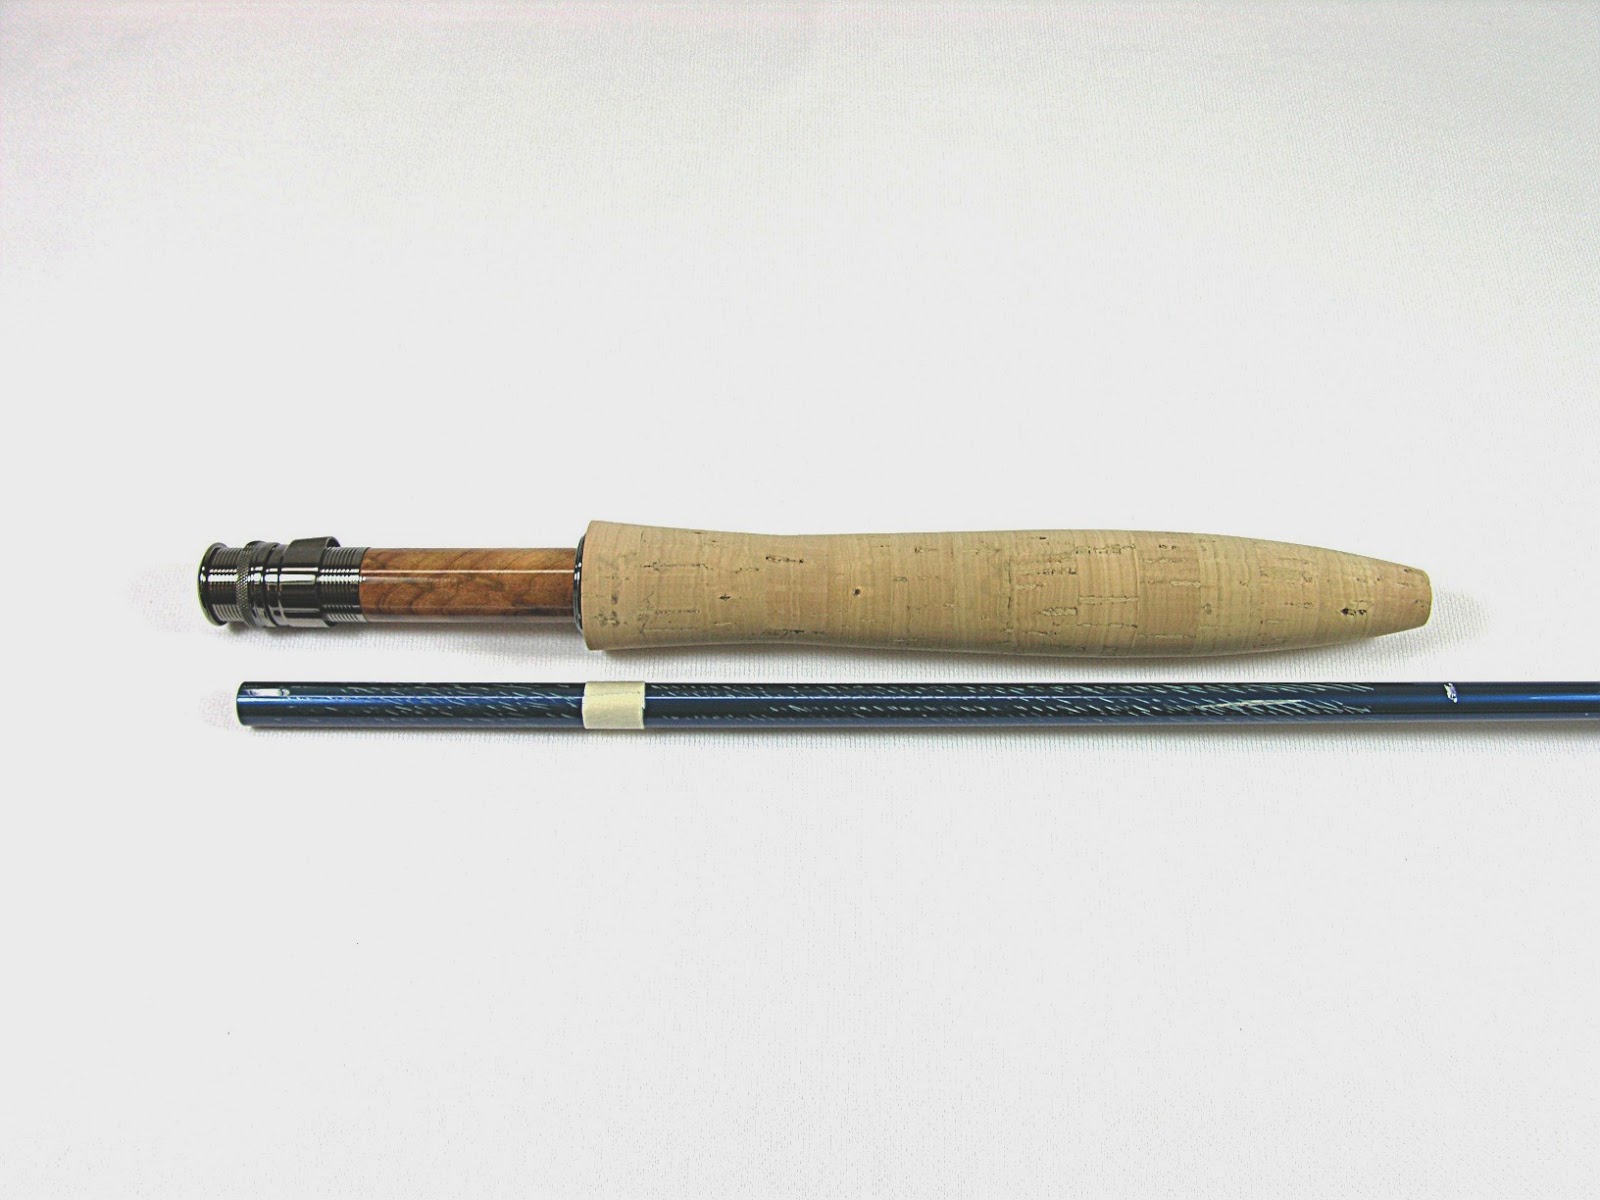
How to do the grip and reel seat layout
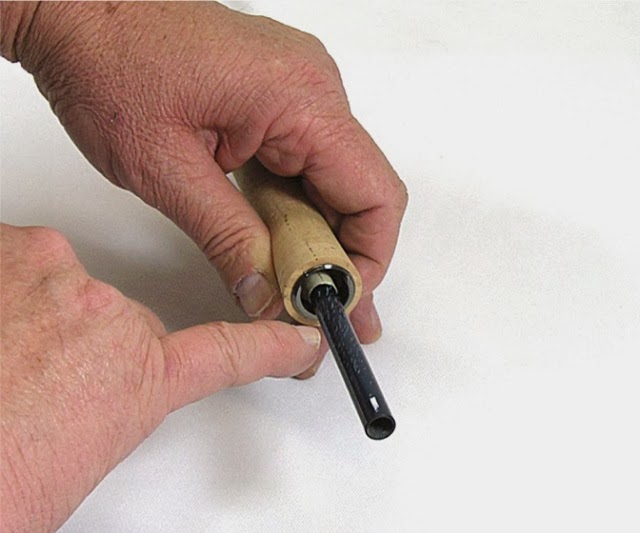
When I do the ‘layout’ on a particular blank, I will measure up where the reel seat is going to be mounted, measure for the length of the grip and place a piece of masking tape to show where the end of the grip will slide down to.
Then I will scratch the blank to ensure a good glue bond. The tape acts as a visual indicator because when you put glue on the blank all the scratches will disappear.
NOTE: If you ever want to experiment with thread colors, finishes or whatever, where the grip and reel seat go is the perfect place, especially if you make a mistake, it won’t show!
Make sure you measure properly as some butt sections are intentionally shorter than the mid sections. If, for example a Sage blank, the butt section is usually about 1/4″ short, then you take that into account when measuring on the blank.
For example; if my uplocking reel seat measures 3-3/8″ (not including the insert portion that is inside the cork retainer) then I will measure 3-1/8″ from the end of the blank to where the end of my grip will be mounted and you will have that 1/4″ small void inside your reel seat. Nothing to worry about, the reason is that some reel seats have solid end butts and if you don’t compensate for the difference, you reel seat will not fit unless you trim the blank. Don’t forge to check the length of your tip section to make sure it’s not too long with the tip top installed.
The only time I glue on the reel seat first is when I’m building a saltwater or spey rod with a fighting butt or rear grip. Then I will glue on the grip and sill have a small piece of butt section to clamp to during the drying process.